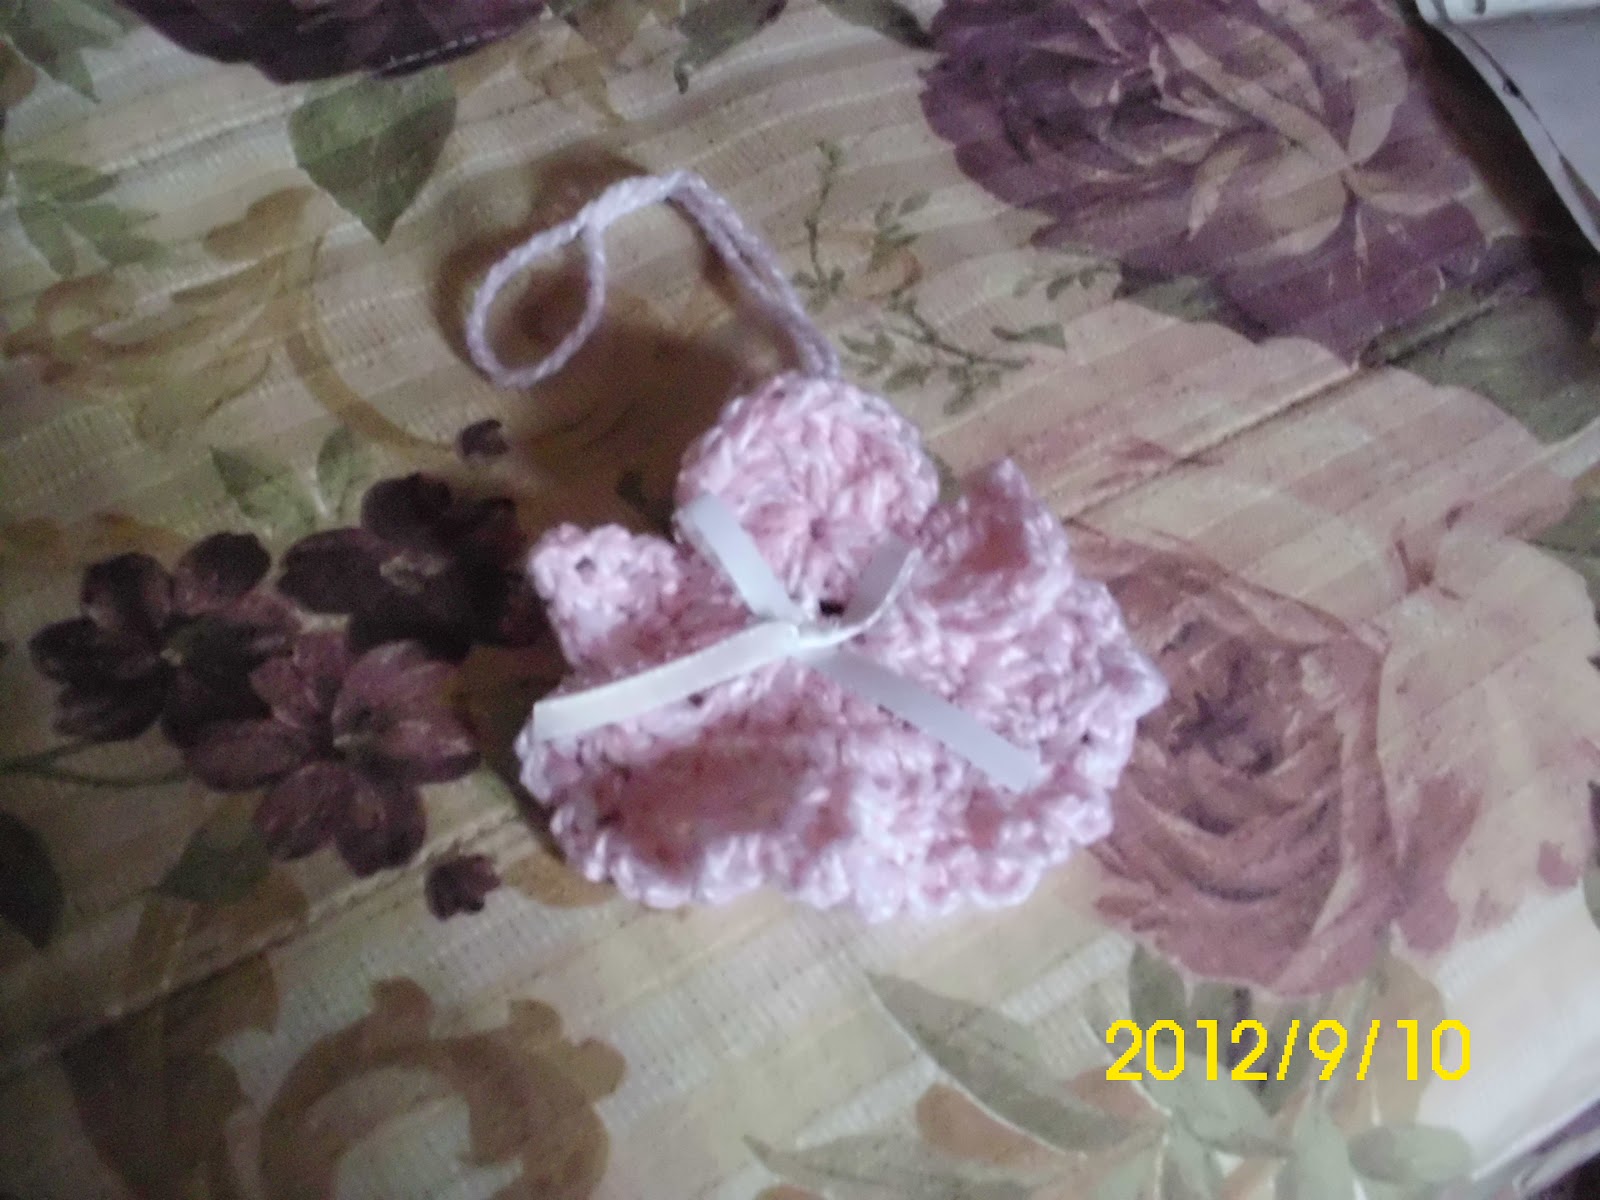
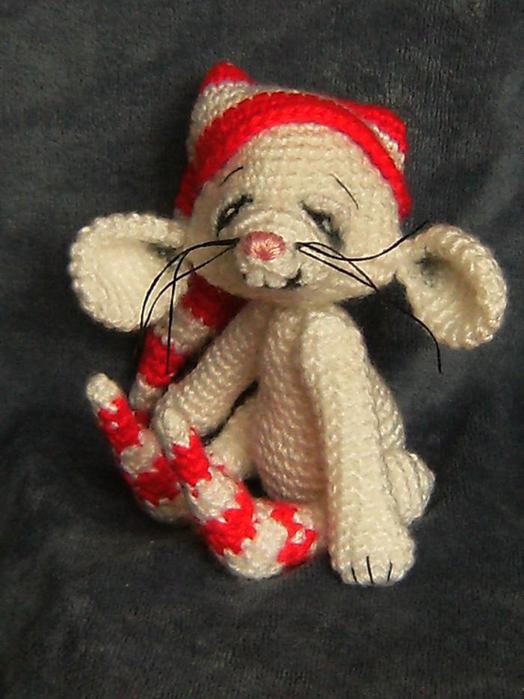
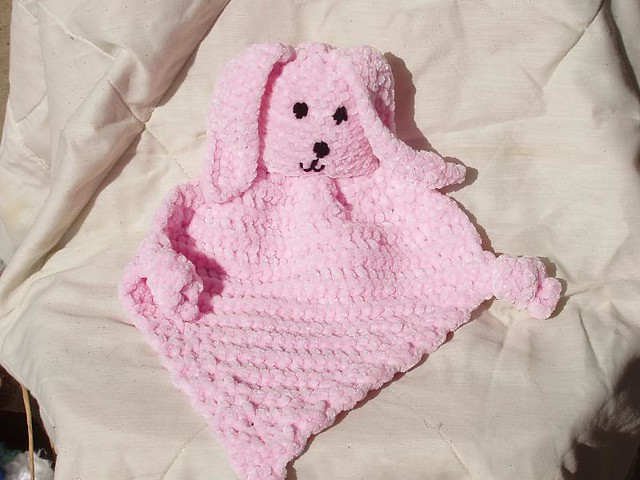
I just finished this for a customer.
Virginia
Tech Hokie Lovey
Use
4 ply yarn and F hook:
Beak,
using orange yarn, chain 13
Rnd
1. sc in 2nd chain to the last chain; 2 sc in last
chain.
Working
around the chain, 2 sc in one. 1 sc in ea chain to the end. Join
Rnd
2.HDC in 3, dc, tpl, dc, hdc in
3, sc, 4 sc around end.
Rnd.
3 sl in 4sc, hdb, dc, 3 dc
cluster, dc, hdc, sl in 4.
sl
around to top center, ch 10, sc back down the chain. Sl to the end.
Head,
using Hokie Maroon:
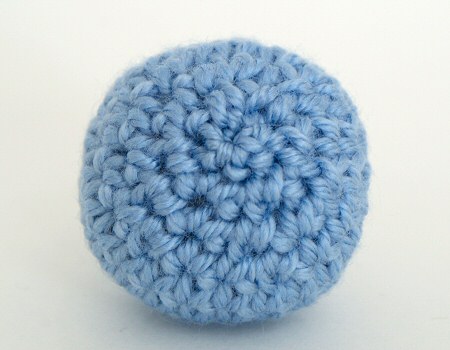
RND
1) Ch2, 6 sc in the 2nd chain from hook. Join. (6)
RND
2) Ch1, 2 sc in each stitch around. Join. (12)
RND
3) Ch 1, (sc in next st, 2 sc in next st) repeat around & join.
(18)
RND
4) Ch 1, sc in each stitch around & join. (18)
Part
2-------
Rnd
5) Ch1, (sc in each of next 2 stitches, 2 sc in the next stitch)
repeat around &
join.
(24)
Rnd
6) Ch1, sc in 9 stitches, 2sc in each of next 6 stitches, sc in each
of last 9
stitches.
Join. (30)
Stitch
markers for eye placement
Markers
go under the first and last increase stitches of last round. Which is
the 10th &
16th
stitches of Rnd 5.
Part
3---------------------------
Rnd
7) Ch1, sc in each stitch around. Join. (30)
Rnd
8) Ch1, sc in the 1st 9 stitches, (2 sc in the next stitch, sc in the
next stitch) 3
times,
(sc in the next stitch, 2 sc in the next stitch) 3 times, sc in the
last 9 stitches.
Add
a spike on the top of the head ( see picture)
Rnd
9. ch1, sc 9, hdc; in back loop (dc, 2 trc in one stitch, dc, hdc) sc
to end, join.
Rnd.
10 – 13, ch 1, sc around, join (36 sc )
continue
as follows:
Rnd.
14, Ch 1, ( sc in
4 sts, decrease over next 2 sts) repeat around & join. (30)
Rnd.
15,Ch 1, ( sc in 3 sts, decrease over next 2 sts) repeat around &
join. (24)
Rnd.
16) Ch 1, ( sc in 2 sts, decrease over 2 sts) repeat around &
join. (18)
Add
stuffing now!
Rnd.
17) Ch 1, (sc in next st, decrease over 2 sts) repeat around &
join. (12)
Add
more stuffing!
Rnd.
18) (decrease over 2 sts) repeat around, join & fasten off. (6)
Use tail to sew up
hole.
End off. Embroider eyebrows, nostrils and mouth. Hot glue eyes.
Tail
Feathers (make
3)***
Rnd.
1, With white, ch 3, sc to end, 2 sc in last stitch, continuing
around the end, 2 sc in one, 1 sc till beginning, 2 sc in last (8)
Rnd
2-4, continue around as before adding additional 2sc in each end (20)
Rnd.
5, Maroon,
continue around 8 more rows as above. Fold sides together and sc
across. Fasten off.
Hand-
Maroon-G hook
1)
Ch 2, 6 sc in the 2nd ch from hook. Join (6)
2)
Ch 1, 2 sc in each st around. Join. (12)
3)
Ch 1, (sc in next st, 2 sc in the next st.) repeat around. Join (18)
4)
Ch1, sc in each st around. Join (18)
5)
Ch 1, (sc in next st, decrease over next 2 sts) repeat around. Join
(12)
Thumb
will be added in next round!
6)
Ch 1, sc in 6 sts, 4dc cluster in front loop only of next st, sc in
last 5 sts. Join. (12)
7)
Ch 1, sc in each st around. Join. (12) Fasten off.
Continuing
in Maroon:
1)Sl
st in last st of hand, sc in next 11 sts and same st as sl st. Join.
(12)
2-3)
Ch 1, sc in each st around. Join (12)
Fasten
off.
Arm-White
1)
Sl st in last st made on cuff, sc in each st around including the
first one with the sl st. Join. (12)
2-5)
Ch 1, sc in each st around. Join. (12)
Stuff
now if you want, I don't stuff arms.
Last
row 6) Ch 1, fold piece in half & sc across through both layers.
(6) Fasten off
Repeat
for second hand and arm
Neck-white-G
hook-leave long tail at start to sew onto head.
1)
Ch 2, 6 sc in 2nd ch from hook. Join. (6)
2)
Ch 1, 2 sc in each st around. Join. (12)
3)
Back Loops only Ch 1, sc in each st around. Join. (12)
4)
Ch 1, sc in each st around. Join. (12) Fasten off
Sew
onto bottom of head using beginning tail & leftover front loops
of rnd 2.
see
picture
Body-
Body-White-G
hook
1)Join
red with a sl st in st to the right of center back st.
(sc
in next st, 2 sc in next st) repeat around. Join. (18)
2)Ch
1, (sc in next 2 sts, 2 sc in next st) repeat around join. (24)
Place
stitch markers for placement of arms.
Markers
go in stitches 5, 12, 14 & 21
Attaching
arms this round! Attach feathers between
arms***
3)
Ch1, sc in 5 sts, hold 1st arm against body as shown in pic, sc
through both layers in the next 6 sts
making
sure thumbs are pointing toward the center part of face, sc in next 3
sts on body, hold 2nd arm
against
body & working through both layers sc in 6 sts, sc in last 4 sts.
Join. (24)
Using
H hook:
4)
Ch 1, (sc in 3 sts, 2 sc in next st) repeat around. Join. (30)
Place
marker in 1st st of last round, we will need that later to start the
blanket.
Work
this round in back loops only!
5)Ch
1,(sc in 3 sts, decrease over next 2 sts) repeat around and Join.
(24)
6)
Ch 1, (sc in 2 sts, decrease over next 2 st) repeat around &
join. (18)
7)
Ch 1, (sc in next st, decrease over next 2 sts) repeat around &
join. (12)
8)
Ch 1, (decrease over next 2 sts) repeat around & join. (6) Fasten
off and use tail to sew up hole. Push this part up inside body.
Lovey
blanket, Maroon, using H hook
1)
Join with a sl st in st to right of marked st, (sc in 4 sts, 2 sc
in next st) repeat around & join. (36)
2)Ch1,
sc in next 2 sts, *hdc in next st, (2dc,ch 2, 2dc)in next st, hdc in
next st, sc in next 3 sts* work
from
* to * 5 times, hdc in next st, (2dc, ch 2, 2dc) in next st, hdc in
next st, sc in last st. Join & fasten
off.
Should
have 6 shell points.
Rnd.
3 using white
Join
with a dc in ch 2 space to right of marker, (dc, ch 2, 2 dc) in same
ch space, dc in next 3 sts,
skipping
next 3 sts, trc around post of sc 2 rounds below as shown in picture,
dc in next 3 sts before ch
space,
(2 dc, ch 2, 2 dc) in ch space. Repeat this pattern around &
join. Fasten off
Rnd.
4, maroon
(2
dc, ch 2, 2 dc) in corner ch space, dc in next 4 sts, treble decrease
worked over leftover red scs 2
rounds
below, dc in next 4 stitches before ch space. Repeat around and join.
Rnd.
5, white
(2dc,
ch 2, 2 dc) in corner ch space, dc in 5 sts, 2 dc front post
decrease, dc in next 5 sts before corner
ch
space. Repeat around and join. Fasten off green.
Rnd.
6, maroon
(2
dc, ch 2, 2 dc) in corner ch space, dc in next 3 sts, quadruple front
post around st 2 rounds below, dc
in
2 sts,* ( decrease)-
front post dc half worked leaving last loop on hook, front post trc
half
worked leaving last loop on hook, front post dc half worked leaving
last loop on hook, pull a loop
through
all 4 loops on hook), dc in 2 sts, quad front post, dc in 3 sts.
Repeat for pattern & join.
(the
front post dc is around the next dc, the front post tr is around the
Treble decrease of Row 4,
then
the last front post dc is around the dc on the other side of the
valley. Remember to leave the
last
loop of each stitch on your hook and draw through them as you
complete the last front post
dc.
)
Rnd,
7, orange
(2
dc, ch 2, 2 dc) in corner ch space, dc in 7 sts, front post dc
decrease, dc in 7 sts. Repeat around. Join.
Fasten
off.
Rnd
8, white
(2
dc, ch 2, 2 dc) in corner ch space, dc in 2 sts, quad front post, dc
in 2 sts, quad front post, dc in 2 sts,
chick
foot decrease, dc in 2 sts, quad front post, dc in 2 sts, quad front
post, dc in 2 sts. Repeat around
&
join.
Rnd
9, maroon
(2
dc, ch 2, 2dc in corner ch space, dc in 9 sts, front post 2 dc
decrease, dc in 9 sts. Repeat around &
fasten
off.
ENJOY